Entity Management
Entities are the foundational elements of your authorization model. They define the actors (who can act) and resources (what can be acted upon) in your system.
Key Concepts
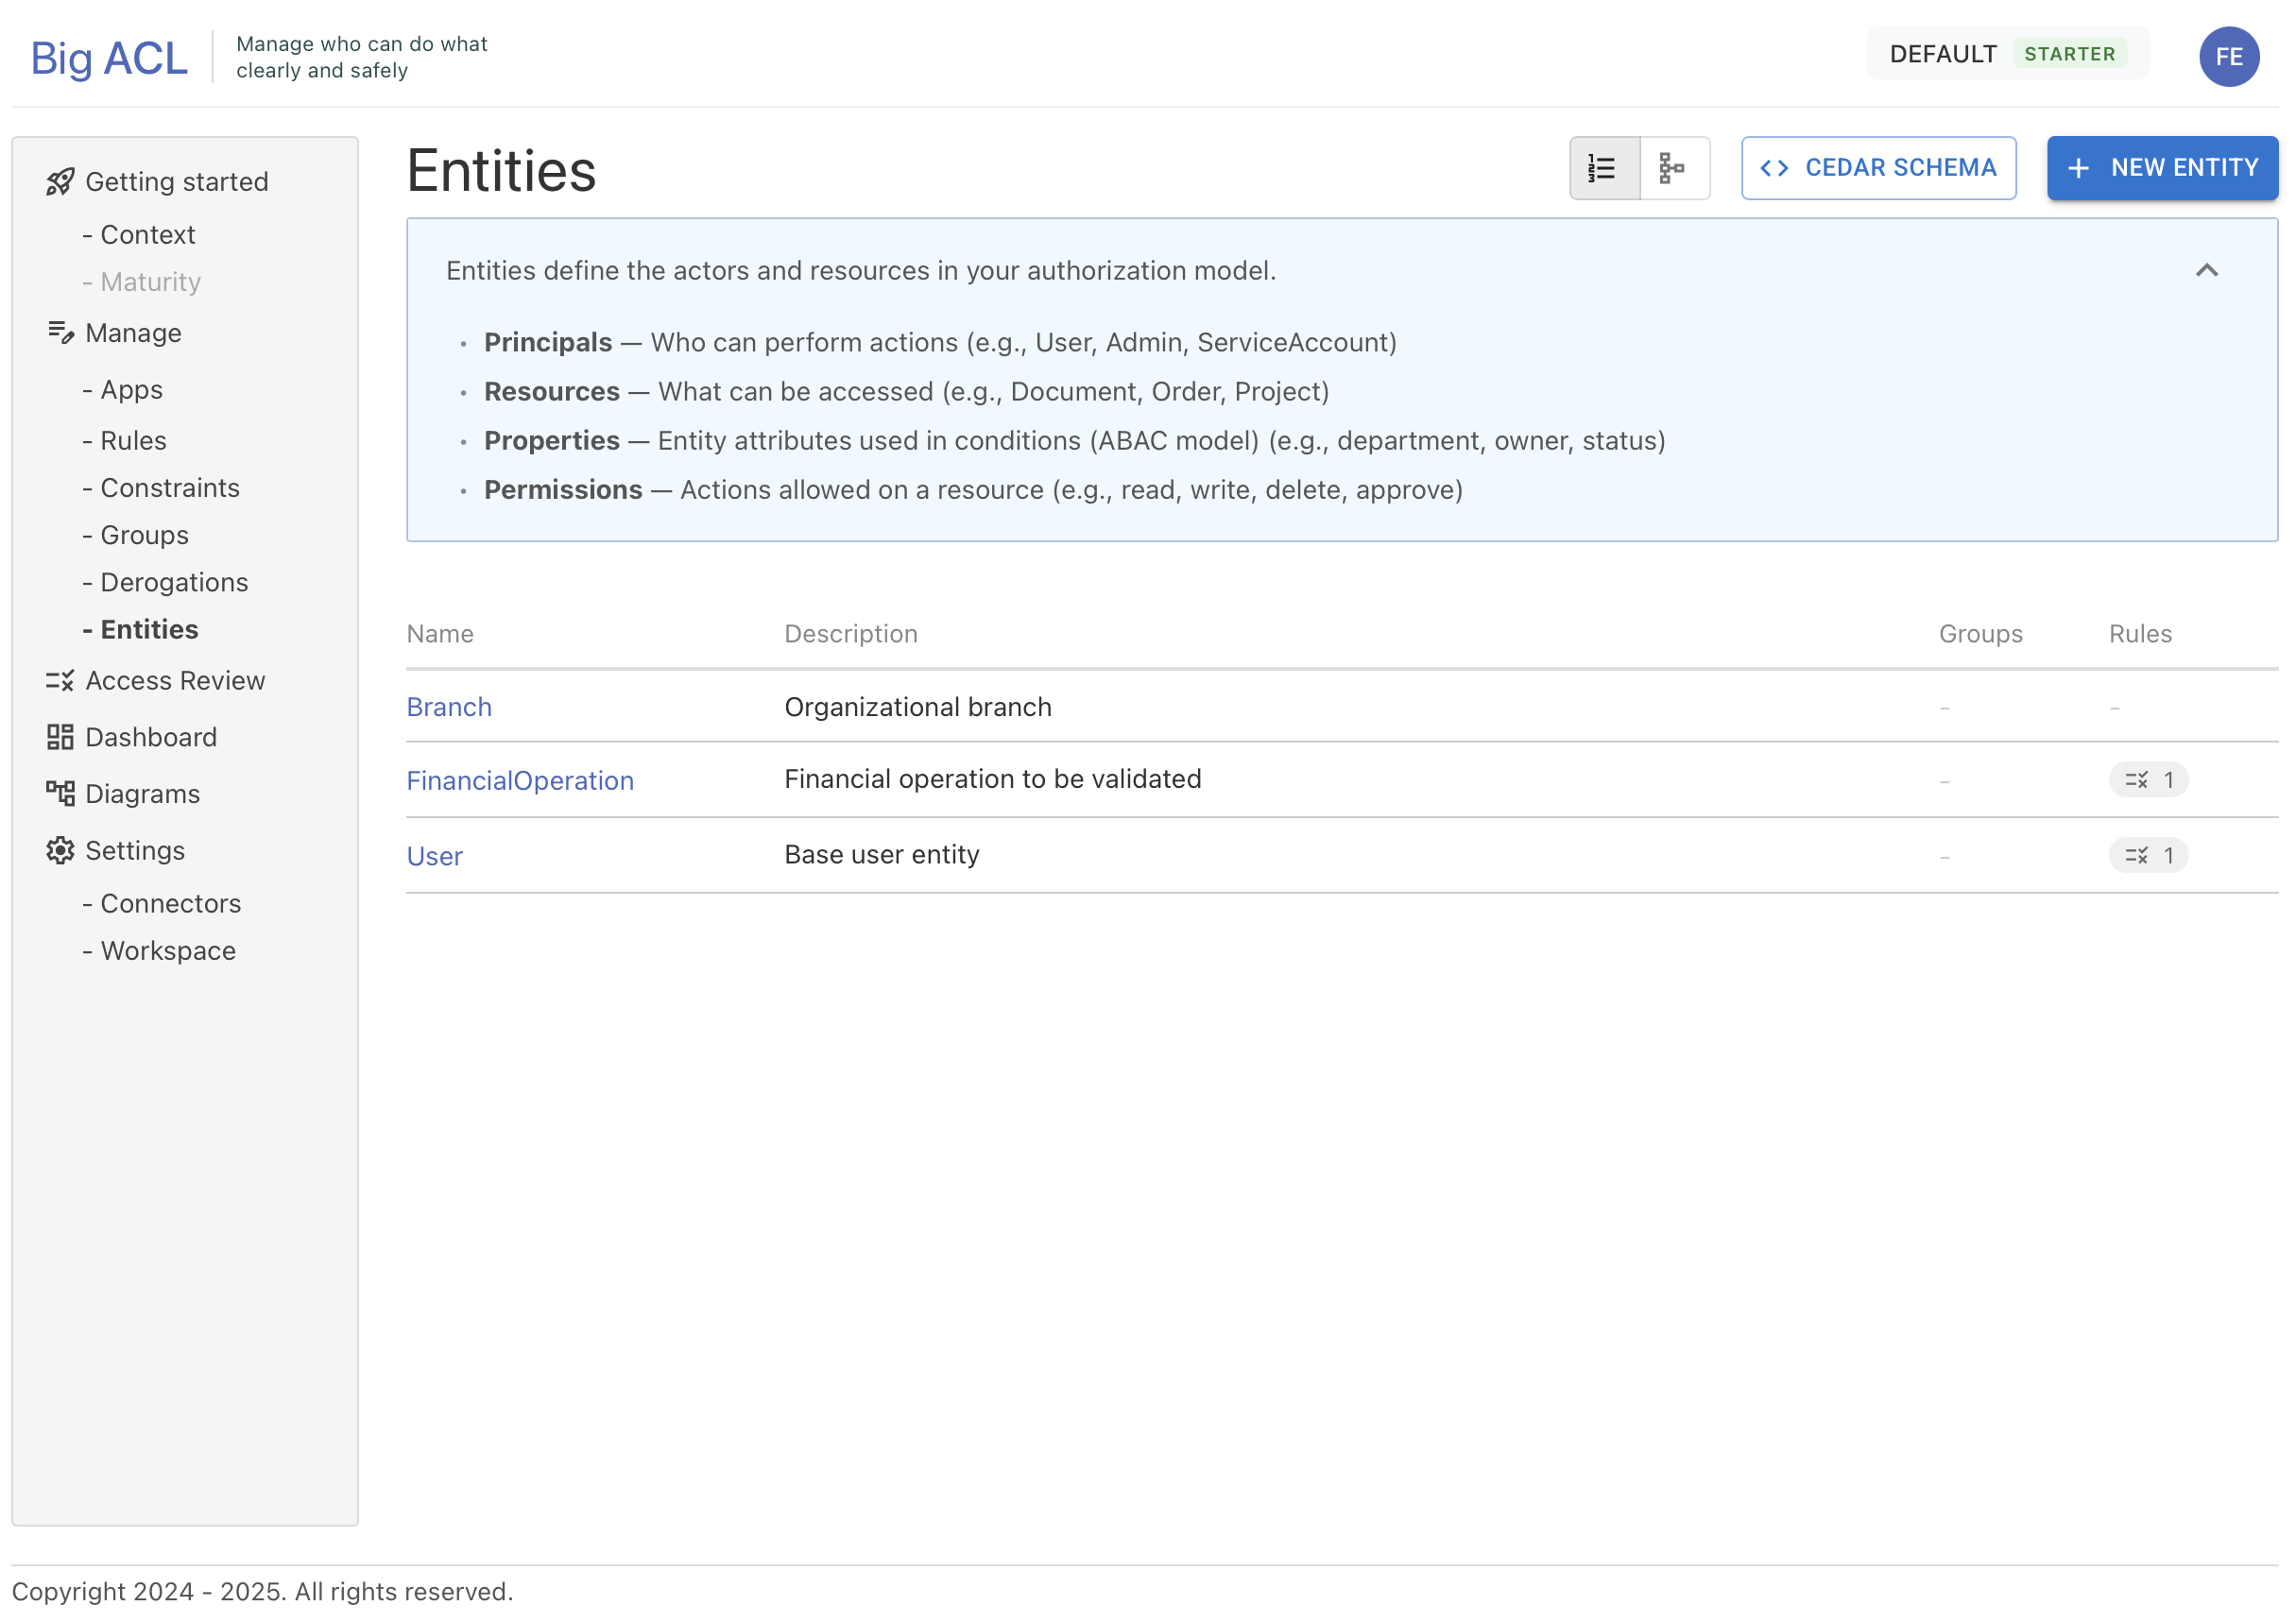
Section titled “Key Concepts”- Principals — Who can perform actions (e.g., User, Admin, ServiceAccount)
- Resources — What can be accessed (e.g., Document, Order, Project)
- Properties — Entity attributes used in conditions (ABAC model) (e.g., department, owner, status)
- Permissions — Actions allowed on a resource (e.g., read, write, delete, approve)
Entity List
Section titled “Entity List”The list view displays all entities defined in your tenant with their usage statistics:
| Column | Description |
|---|---|
| Name | Entity name (clickable to access details) |
| Description | Optional entity description |
| Groups | Number of groups defined for this entity |
| Rules | Number of rules using this entity |
Visual Indicators
Section titled “Visual Indicators”- Warning icon: Displayed if the entity has properties but no primary key defined
- Count badges: Show the number of associated groups and rules
Display Modes
Section titled “Display Modes”Two modes are available via the buttons at the top of the page:
- List: Tabular view of entities
- Diagram: Graphical visualization of the data model
Creating an Entity
Section titled “Creating an Entity”- Click the New Entity button
- Fill in the information:
- Name: Entity name (3-20 characters, starts with a letter, alphanumeric + underscore only)
- Description: Optional description
- Confirm creation
The entity is created and you are automatically redirected to its detail page in edit mode.
Entity Details
Section titled “Entity Details”The entity detail page includes several tabs:
Header
Section titled “Header”- Name and description: Editable in edit mode (click on the text to edit)
- Lock button: Toggle between read-only mode and edit mode
- Audit information: Creation date, creator, last modification
Properties Tab
Section titled “Properties Tab”This tab manages the entity’s properties (attributes).
Available Property Types
Section titled “Available Property Types”| Type | Description |
|---|---|
string | Text value |
numeric | Numeric value |
boolean | Boolean value (true/false) |
date | Date or timestamp |
| Entity reference | Link to another entity |
Adding a Property
Section titled “Adding a Property”- Click Add property
- Fill in:
- Name: Property name (required)
- Type: Data type
- Collection: Check if the property is a collection/set
- Description: Optional description
- Confirm
Primary Key
Section titled “Primary Key”The primary key uniquely identifies each instance of the entity. It is required to:
- Reference the entity in other entities
- Use the entity in authorization rules
- Create groups based on this entity
To define a primary key:
- Hover over a primitive type property
- Click the key icon that appears
- Confirm the change
Note: Only primitive type properties (string, numeric, boolean, date) can be defined as primary key.
Permissions Tab (Actions)
Section titled “Permissions Tab (Actions)”This tab defines the possible actions on the entity when it is used as a resource.
Adding an Action
Section titled “Adding an Action”- Click Add action
- Fill in:
- Code: Unique action identifier (required)
- Description: Action description
- Confirm
Common action examples: read, write, delete, approve, share, export
Data Tab
Section titled “Data Tab”This tab manages the entity’s data (instances).
CSV Import
Section titled “CSV Import”- Click Upload CSV
- Select your CSV file
- Columns must match the entity’s property names
Export
Section titled “Export”- Download Template: Downloads a CSV template with the correct columns
Entity Diagram
Section titled “Entity Diagram”The diagram visualizes your data model with relationships between entities.

Displayed Elements
Section titled “Displayed Elements”Each entity is represented by a card containing:
- Entity name
- Properties with their types (colored badges)
- Key icon for the primary key
- Associated actions/permissions
Type Color Coding
Section titled “Type Color Coding”| Color | Type |
|---|---|
| Green | String |
| Blue | Numeric |
| Orange | Boolean |
| Purple | Date |
| Gray | Entity reference |
Navigation
Section titled “Navigation”- Zoom: Use controls or mouse wheel
- Pan: Click and drag to navigate
- Mini-map: Overview in the bottom corner
Cedar Schema
Section titled “Cedar Schema”Big-ACL automatically generates a Cedar schema from your entity definitions.
Accessing the Schema
Section titled “Accessing the Schema”- From the entity list, click Cedar Schema
- The JSON schema is displayed in a modal window
Available Actions
Section titled “Available Actions”- Copy: Copy the schema to clipboard
- Download: Export the schema as JSON file
Schema Contents
Section titled “Schema Contents”The Cedar schema includes:
- All entity definitions and their properties
- Actions defined on each entity
- Relationships between entities
- Principal/Resource mappings based on your rules
Deleting an Entity
Section titled “Deleting an Entity”An entity can only be deleted if it is not referenced anywhere:
- No rule uses the entity as subject or resource
- No group is defined on this entity
- No other entity has a property referencing this entity
If references exist, the delete button is disabled and a tooltip indicates the blocking items.
Best Practices
Section titled “Best Practices”Naming
Section titled “Naming”- Use singular names (e.g.,
Userrather thanUsers) - Adopt a consistent convention (PascalCase recommended for entities)
- Choose explicit, business-oriented names
Modeling
Section titled “Modeling”- Identify your principals: Who are the actors in your system?
- Identify your resources: What do these actors need to act upon?
- Define properties: What attributes are needed for authorization conditions?
- Establish relationships: How are entities related to each other?
- List actions: What operations are possible on each resource?
Primary Keys
Section titled “Primary Keys”- Always define a primary key before using the entity
- Prefer a stable technical identifier (e.g.,
id,code) - Avoid attributes that are likely to change
Attribute-Based Access Control (ABAC)
Section titled “Attribute-Based Access Control (ABAC)”To implement an effective ABAC model:
- Add descriptive properties to your entities (department, role, clearanceLevel…)
- Use these properties in the
whenandunlessconditions of your rules - Leverage entity references for complex conditions
Example Model
Section titled “Example Model”Here is an example authorization model for a document management application:
Entities
Section titled “Entities”| Entity | Role | Properties | Actions |
|---|---|---|---|
| User | Principal | id (PK), email, department, role | - |
| Document | Resource | id (PK), title, owner, status, classification | read, write, delete, share |
| Project | Resource | id (PK), name, members | view, edit, manage |
Relationships
Section titled “Relationships”Document.owner→User(the document owner)Project.members→User[](project members, collection)
Example Rules
Section titled “Example Rules”- A User can
reada Document whenprincipal.department == resource.owner.department - A User can
deletea Document whenprincipal.id == resource.owner.id - A User can
viewa Project whenprincipal in resource.members