SCIM 2.0
The SCIM 2.0 connector enables automatic provisioning of users and groups from your Identity Provider (IdP) into Big ACL’s Policy Information Point (PIP).
Overview
Section titled “Overview”SCIM (System for Cross-domain Identity Management) is an open standard that allows Identity Providers like Azure AD/Entra ID, Okta, or Ping Identity to automatically synchronize user and group data with Big ACL.
Supported operations:
- Create, update, and delete users
- Create, update, and delete groups
- Manage group memberships
Getting Started
Section titled “Getting Started”Step 1: Create the Connector
Section titled “Step 1: Create the Connector”- Navigate to Settings > Connectors
- Click New Connector
- Select SCIM 2.0 from the Identity Provider category
- Enter a name for your connector (e.g., “Azure AD Provisioning”)
- Click Save
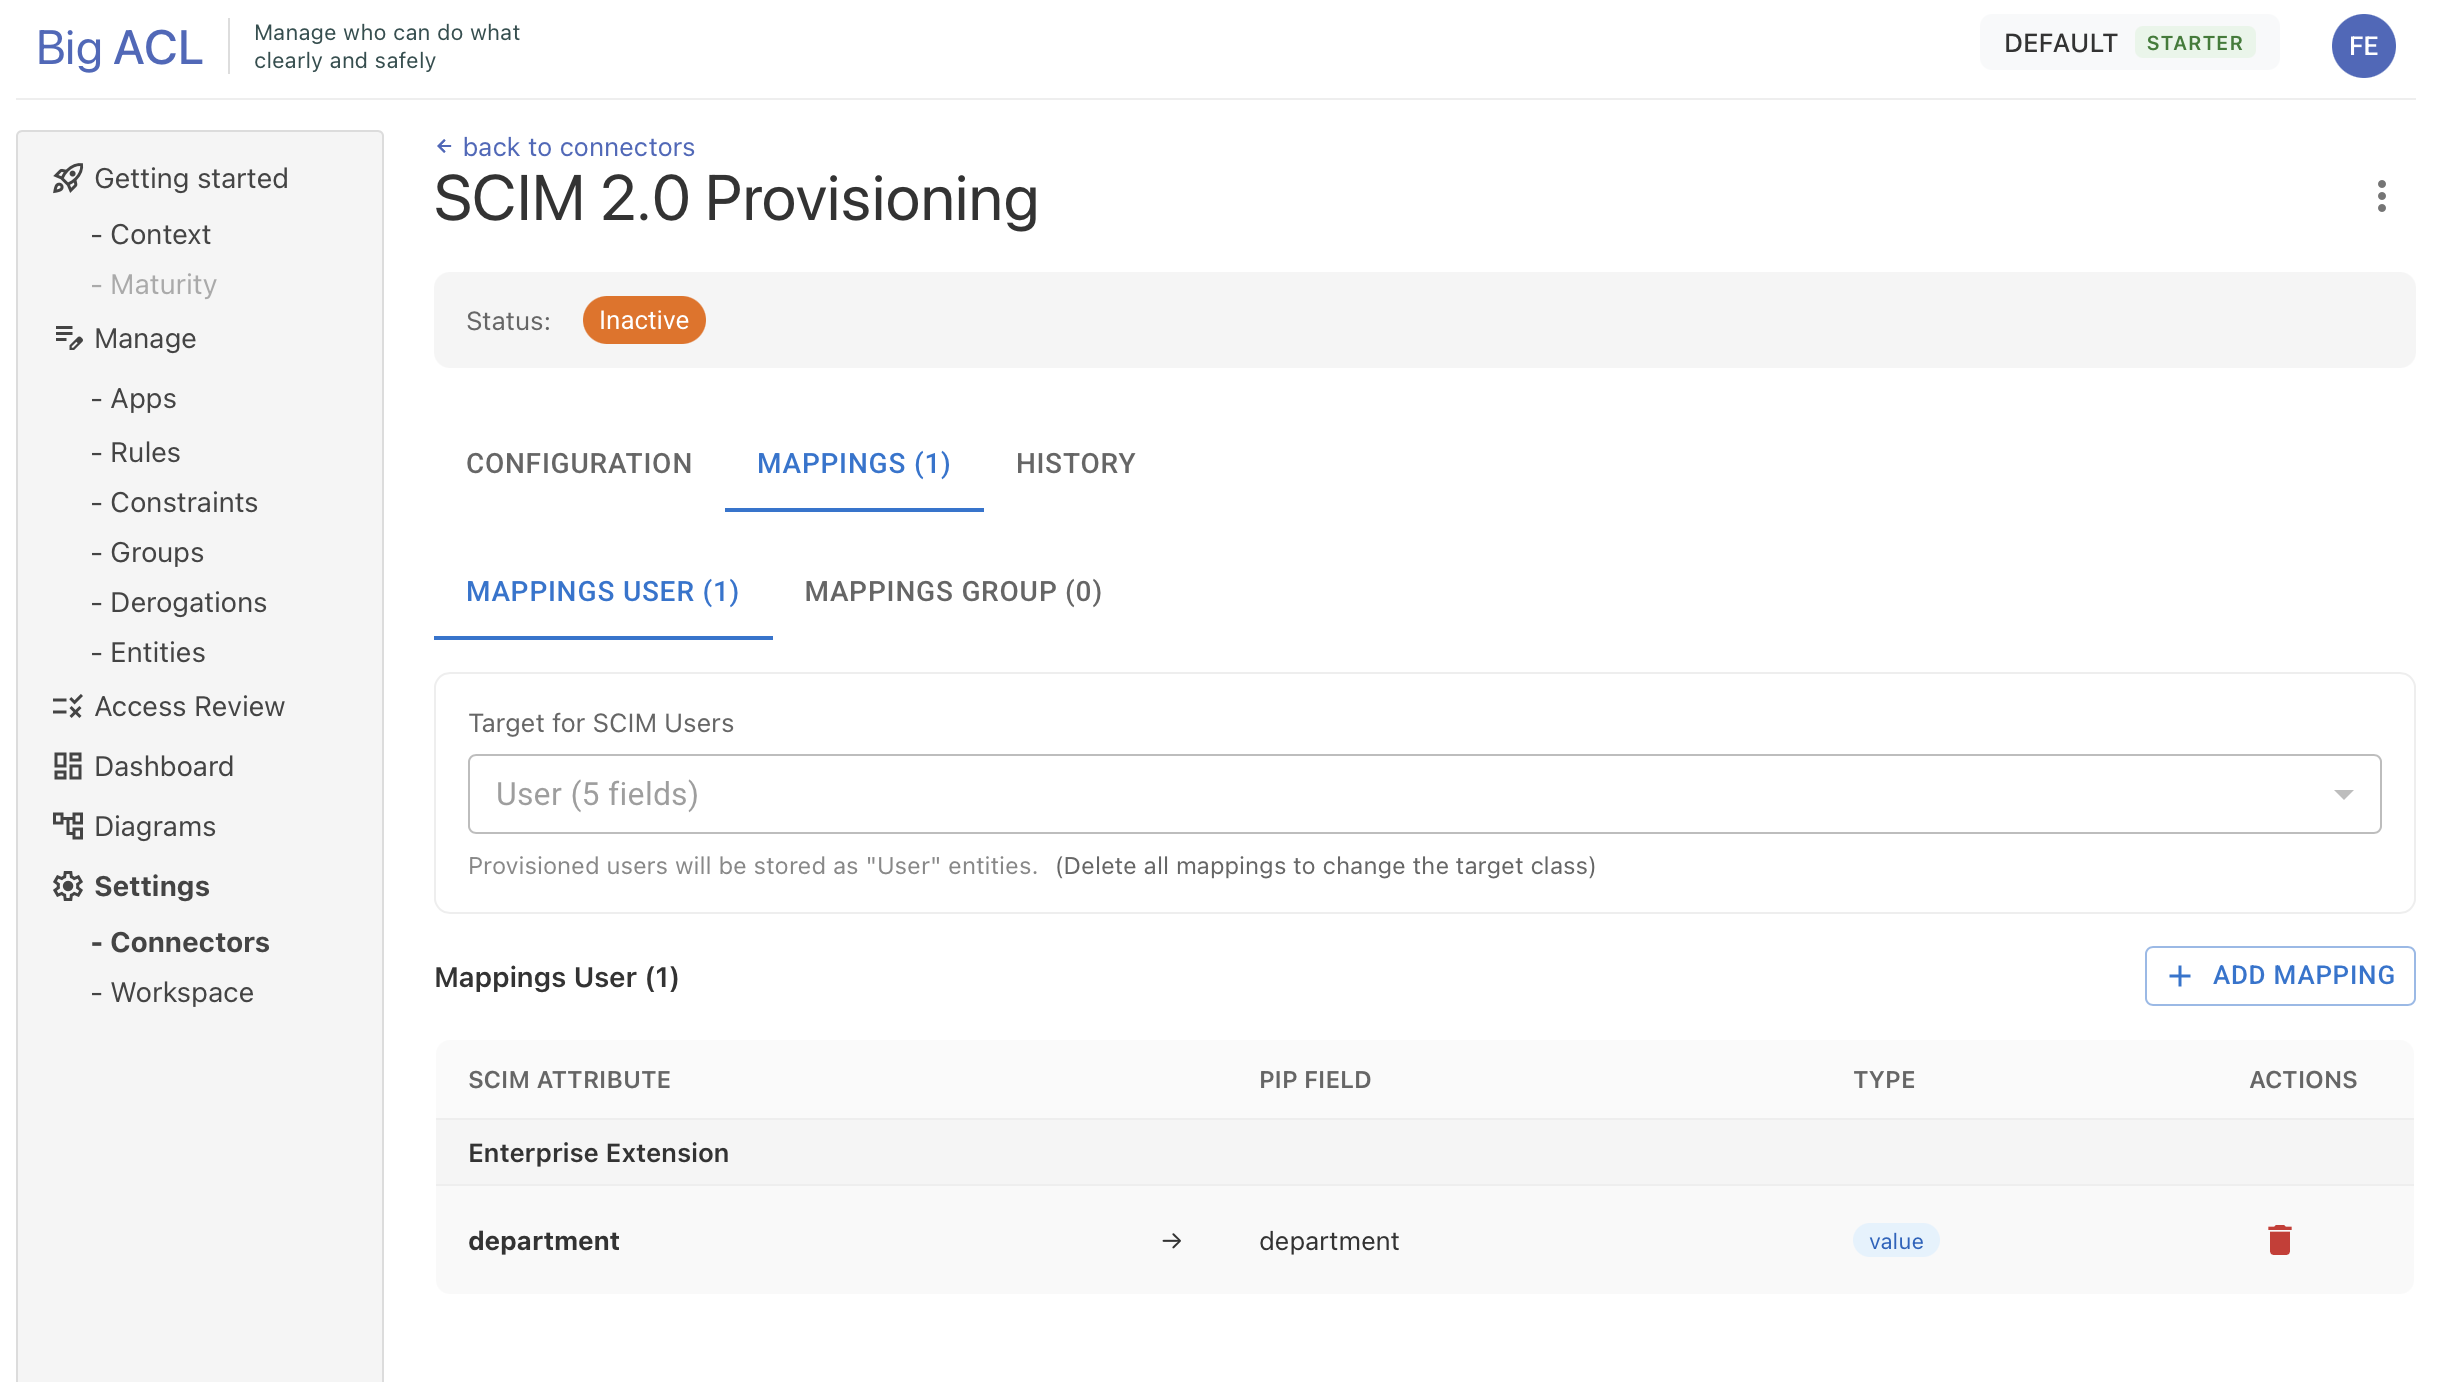
Step 2: Configure Attribute Mappings
Section titled “Step 2: Configure Attribute Mappings”Before activating the connector, you must configure how SCIM attributes map to your Big ACL entities.
- Go to the Mappings tab
- Configure User Mappings:
- Select the target EntityClass for users (e.g., “Employee”)
- Click Add Mapping to map SCIM attributes to entity fields
- Optionally configure Group Mappings following the same process
Mapping Types
Section titled “Mapping Types”| Type | Description |
|---|---|
| Simple value | Maps the SCIM attribute directly to the field |
| Reference | Resolves the value to an existing entity reference |
| List of references | Maps an array of values to entity references (e.g., group members) |
Common SCIM Attributes
Section titled “Common SCIM Attributes”User (Core Schema):
userName- Unique identifiername.givenName- First namename.familyName- Last nameemails[primary].value- Primary emailactive- Account status
User (Enterprise Extension):
employeeNumber- Employee IDdepartment- Department namemanager.value- Manager reference
Group:
displayName- Group namemembers[].value- Member references
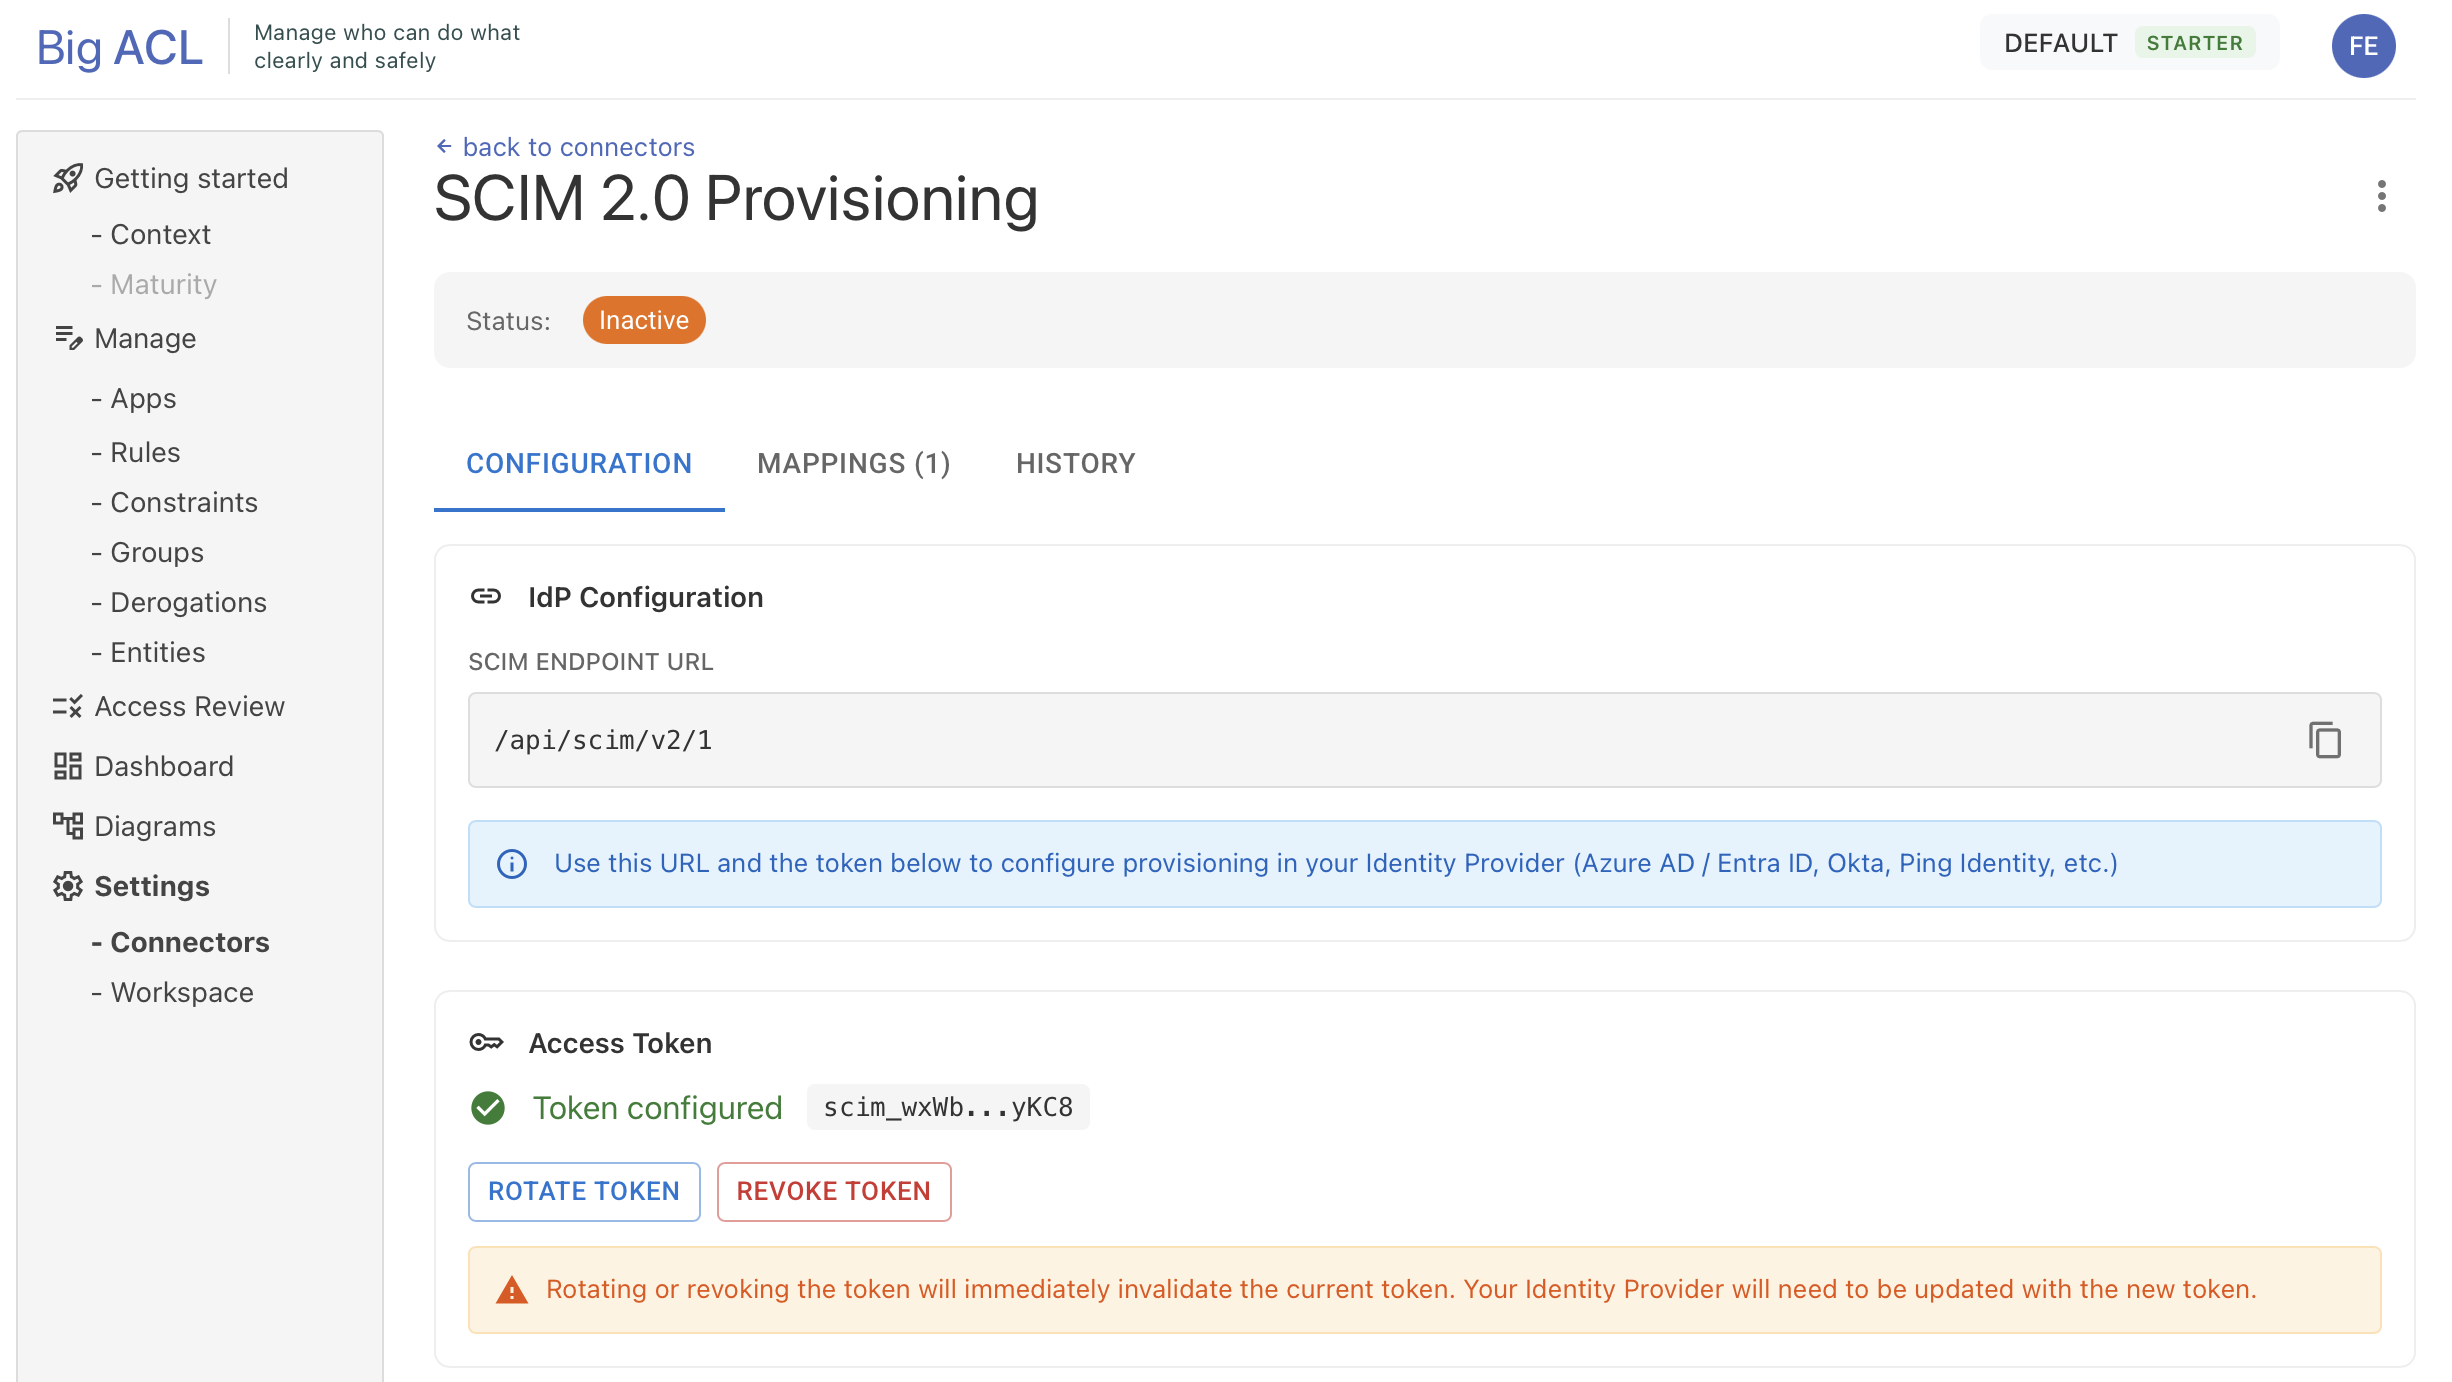
Step 3: Generate Access Token
Section titled “Step 3: Generate Access Token”- Go to the Configuration tab
- Click Generate Token
- Copy the token immediately - it will only be shown once
- Store the token securely
Warning: If you lose the token, you’ll need to generate a new one and update your IdP configuration.
Step 4: Activate the Connector
Section titled “Step 4: Activate the Connector”- Open the connector menu (three dots icon)
- Click Activate
The connector is now ready to receive SCIM requests from your Identity Provider.
Identity Provider Configuration
Section titled “Identity Provider Configuration”Use the following values to configure SCIM provisioning in your IdP:
| Setting | Value |
|---|---|
| Tenant URL | https://api.big-acl.com/scim/v2/{tenant-id} |
| Authentication | Bearer Token |
| Token | The token generated in Step 3 |
Azure AD / Entra ID
Section titled “Azure AD / Entra ID”- Go to Enterprise Applications > Your App > Provisioning
- Set Provisioning Mode to Automatic
- Enter the Tenant URL and Secret Token
- Click Test Connection then Save
- Configure attribute mappings as needed
- Turn Provisioning Status to On
- Go to Applications > Your App > Provisioning
- Click Configure API Integration
- Enter the SCIM Base URL and API Token
- Enable the provisioning features you need
- Configure attribute mappings in the To App section
Managing the Connector
Section titled “Managing the Connector”Rotate Token
Section titled “Rotate Token”If you suspect the token has been compromised:
- Go to the Configuration tab
- Click Rotate Token
- Confirm the action
- Update your IdP with the new token
Note: The previous token is immediately invalidated. Your IdP will fail to connect until updated.
Deactivate Connector
Section titled “Deactivate Connector”To temporarily stop provisioning:
- Open the connector menu
- Click Deactivate
The SCIM endpoint will reject all requests until reactivated.
Delete Connector
Section titled “Delete Connector”To permanently remove the connector:
- Open the connector menu
- Click Delete
- Type
DELETEto confirm
Note: Provisioned entities (users/groups) will NOT be deleted. Only the connector configuration and mappings are removed.
Monitoring
Section titled “Monitoring”Operations History
Section titled “Operations History”The History tab shows all SCIM operations received by the connector:
- Filter by operation type (Create, Update, Delete, Search)
- Filter by resource type (User, Group)
- Filter by status (Success, Error)
- Click on an error row to see details
Troubleshooting
Section titled “Troubleshooting”Connection Test Fails
Section titled “Connection Test Fails”- Verify the Tenant URL is correct
- Ensure the token is entered without extra spaces
- Check that the connector is activated
Users/Groups Not Syncing
Section titled “Users/Groups Not Syncing”- Verify attribute mappings are configured
- Check the History tab for errors
- Ensure the IdP provisioning is enabled and users are in scope
401 Unauthorized Errors
Section titled “401 Unauthorized Errors”- The token may have been rotated or revoked
- Generate a new token and update your IdP
404 Not Found Errors
Section titled “404 Not Found Errors”- The target EntityClass may have been deleted
- Verify your mappings reference existing classes
Reference
Section titled “Reference”Supported SCIM Endpoints
Section titled “Supported SCIM Endpoints”| Method | Endpoint | Description |
|---|---|---|
| GET | /Users | List/search users |
| GET | /Users/{id} | Get user by ID |
| POST | /Users | Create user |
| PUT | /Users/{id} | Replace user |
| PATCH | /Users/{id} | Update user |
| DELETE | /Users/{id} | Delete user |
| GET | /Groups | List/search groups |
| GET | /Groups/{id} | Get group by ID |
| POST | /Groups | Create group |
| PUT | /Groups/{id} | Replace group |
| PATCH | /Groups/{id} | Update group |
| DELETE | /Groups/{id} | Delete group |
Supported SCIM Schemas
Section titled “Supported SCIM Schemas”urn:ietf:params:scim:schemas:core:2.0:Userurn:ietf:params:scim:schemas:extension:enterprise:2.0:Userurn:ietf:params:scim:schemas:core:2.0:Group